
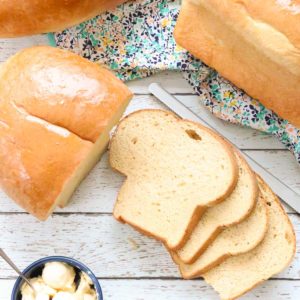
There is arguably nothing better than the smell of freshly baked bread - well, maybe the taste! This easy 100% whole wheat bread recipe, is your foolproof ticket to healthy, moist, light, absolutely swoon-worthy bread! Only takes 6 ingredients and a little over an hour from start to finish! Check out the tips and tricks.
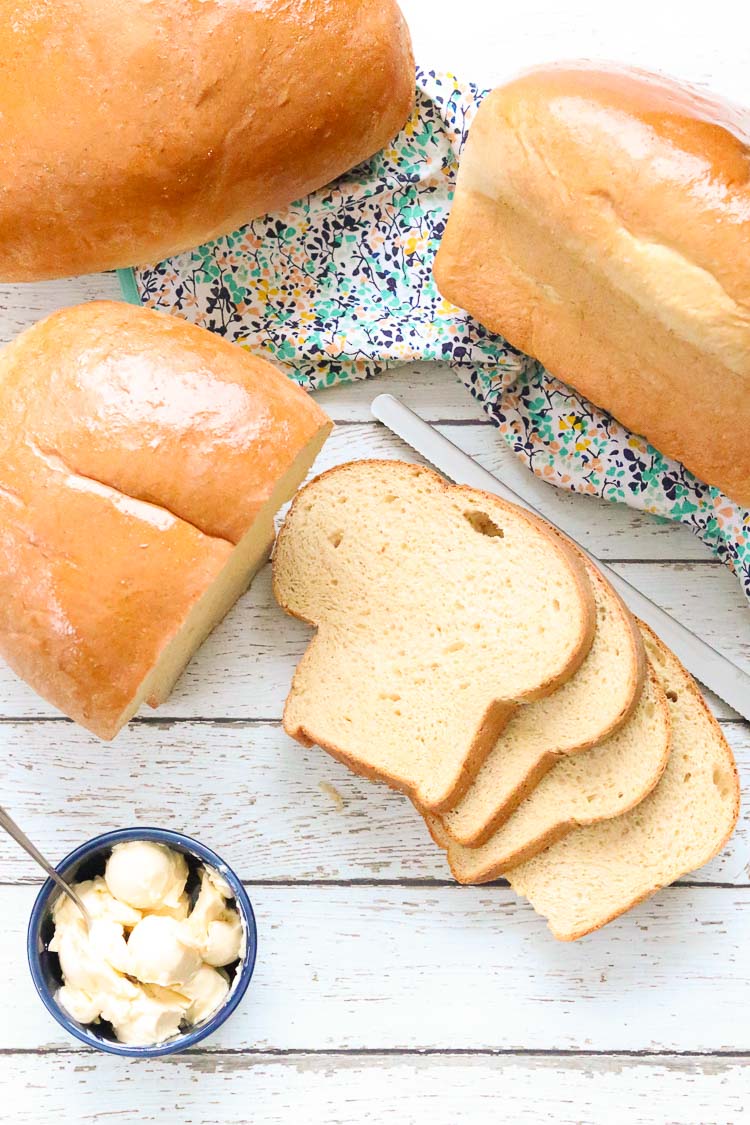
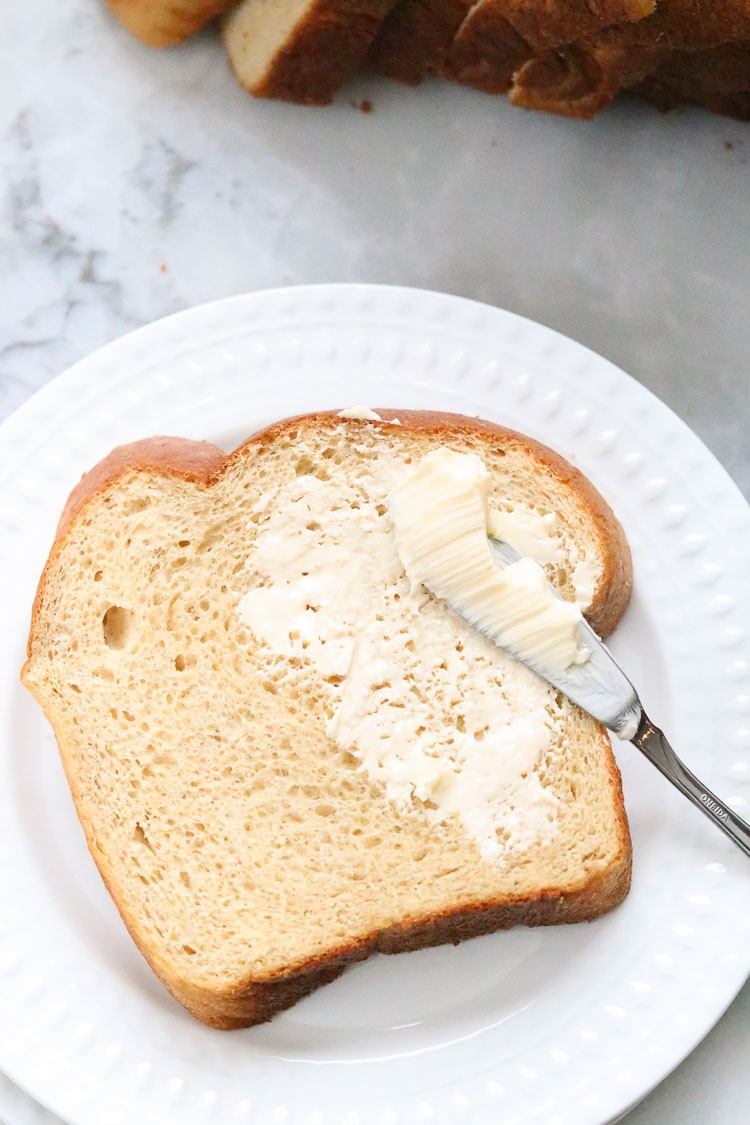
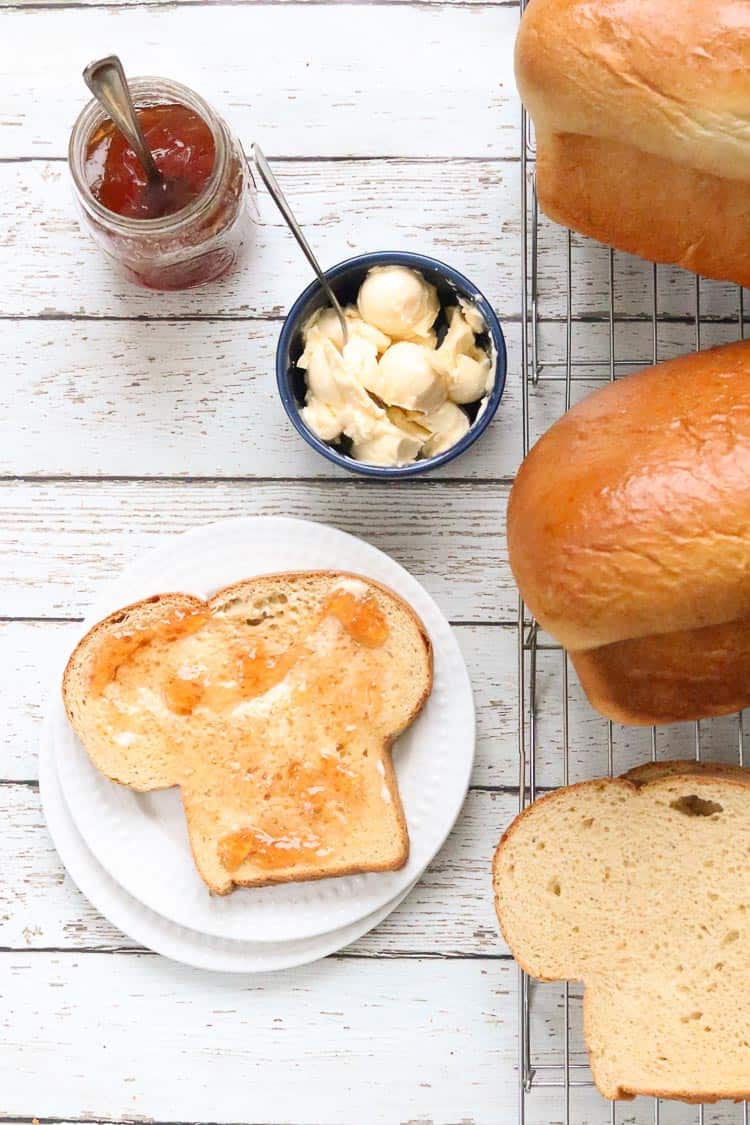
This bread is delicious for sandwiches, toast, or for turning into vegan Italian breadcrumbs. I love it for making vegan BLT, vegan egg salad sandwich, vegan "chicken salad" sandwich, or for enjoying a vegan loaf sandwich!
What ingredients are most important for the Best Whole Wheat bread?
- White Whole Wheat Flour - An absolutely essential key to the best whole wheat bread ever! This flour can easily be obtained in most grocery stores now, and although it has 'white' in it's name, you're getting all the whole-grained goodness, just from wheat that is naturally lighter in color and texture! Read more about White Whole wheat flour here. (If you simply can't purchase white whole wheat flour, you can still make this recipe. Just use half regular wheat flour and half white all purpose flour.)
- Vital Wheat Gluten Flour - This not-so-secret ingredient increases the ultimate gluten content of the dough, creating a bread that is light, moist, and NOT crumbly! You'll be totally sold on this first time you try it! Available at many grocery and most health food stores or online.
Instructions
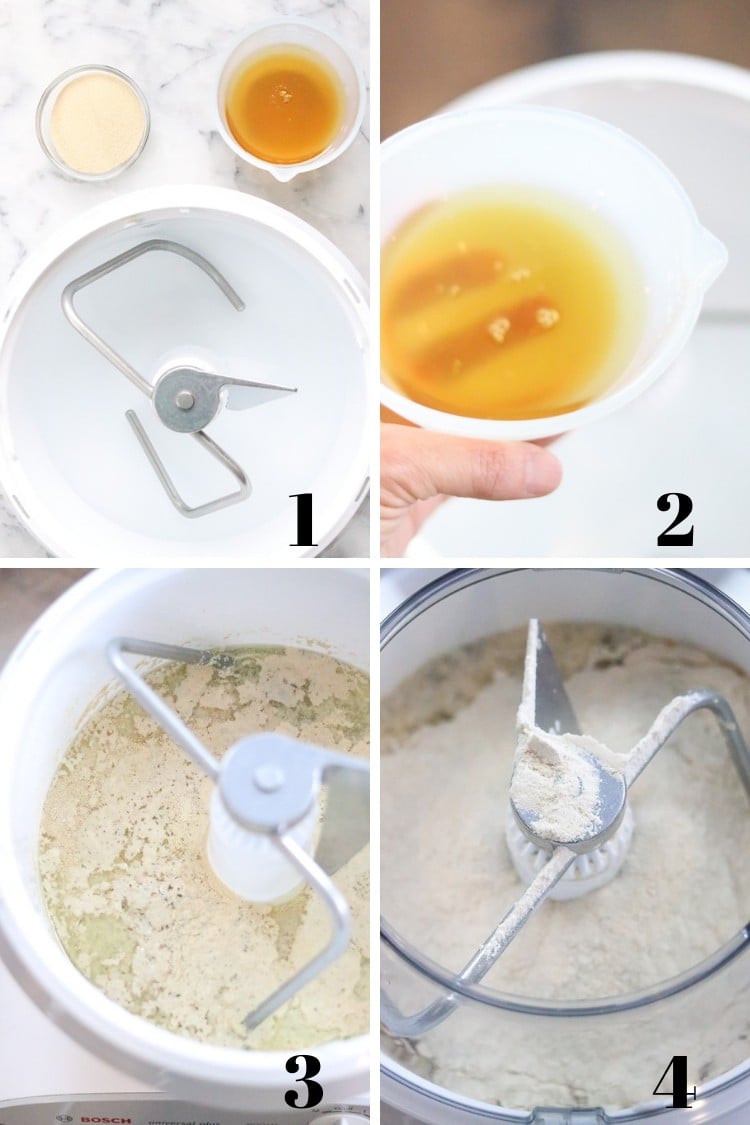
Start by adding slightly warm water (not above 110 degrees Fahrenheit!) to your mixer bowl (Photo 1). Then add the oil and agave (or honey if you prefer) to the bowl, followed by the yeast.
Pulse the machine to mix slightly (Photos 2 & 3). The yeast should begin to react immediately.
Add four cups of flour covering the water, then add the salt, and gluten flour (Photo 4). Turn your mixer on to low speed (or Bosch level 1).
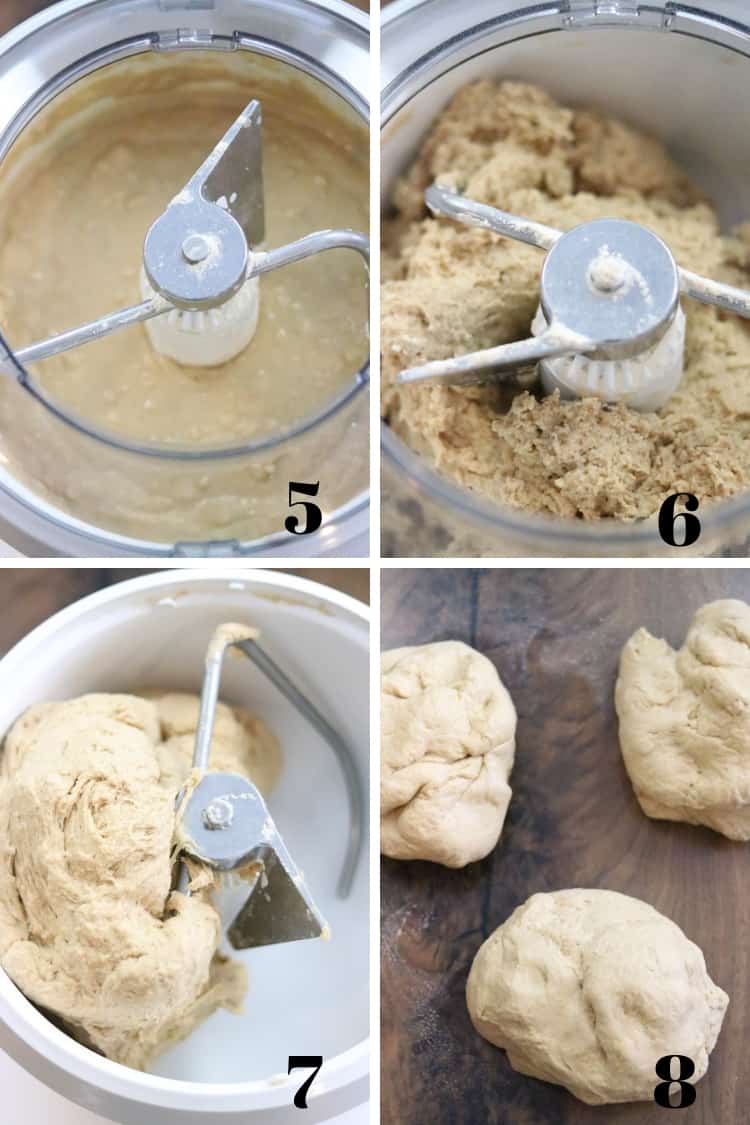
After turning your mixer on to low speed, your dough mix will look like (Photo 5).
Now add 4 more cups of flour while mixer is working on low. Add another half cup of flour as the final touch, and check to make sure that the dough is cleaning the sides of the bowl. (You can add up to another half cup of flour if the dough appears to be sticking, but you shouldn't need it.) (Photo 6).
Turn the mixing speed up to medium and mix (Bosch level 2) and set a timer for 10 minutes.
At the end of ten minutes, your dough will be smooth and elastic (Photo 7). Remove the dough from the bowl and place on an oiled or pan sprayed surface. Divide dough into three equal portions (Photo 8).
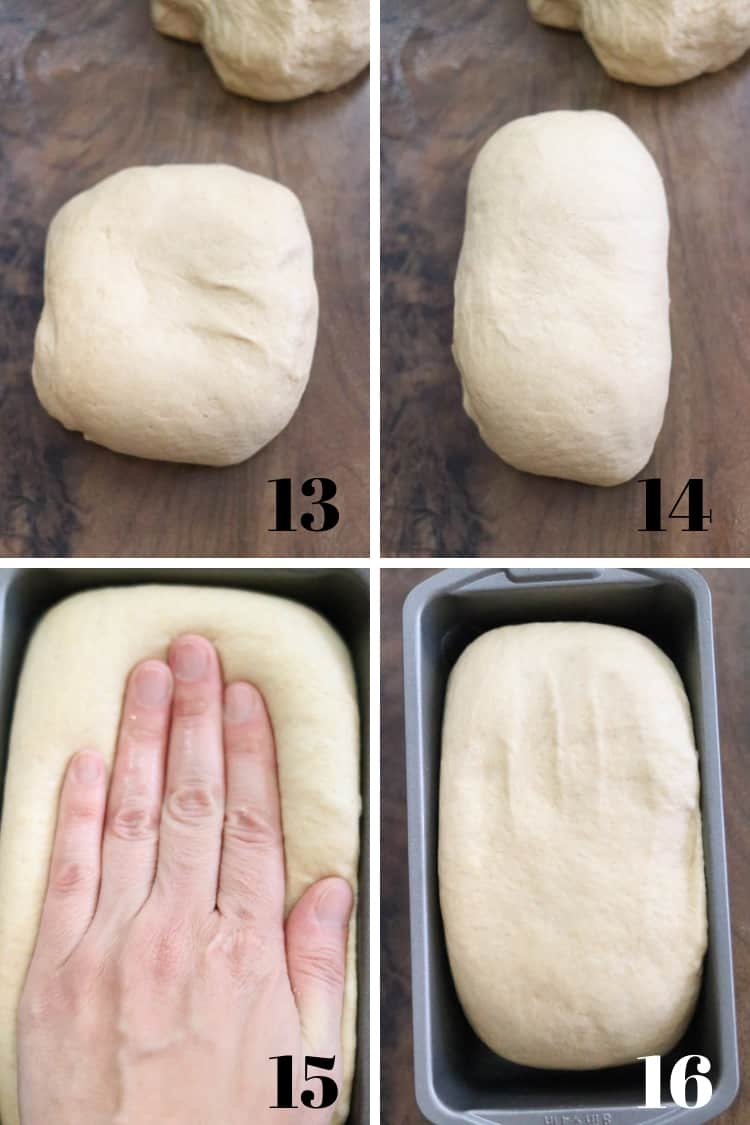
Take one of the three dough portions and press roughly into a 8 inch square. Fold the top down, bottom up, and sides in, pressing into the center each time (watch the video!) (Photos 9, 10, 11 & 12).

Flip the dough over, seam side down, and shape into loaf by placing hands on sides of dough and pressing together (Photos 13, 14).
Place dough into oiled or pan sprayed baking pan, and press down firmly with your hand (Photos 15, 16). (The dough is elastic and will spring back, so don't worry about filling the pan - or about having your handprint on the top - it won't last!)
Cover your bread with a light clean tea towel (to prevent a crust from forming and preventing proper rising) and place your pans in a warm place to rise for about 25 minutes or until doubled in size (Photos 17, 18 & 19).
Expert tip: Preheat your oven to 350 degrees. Pre-heating is so important, because when this bread is ready to go into the oven, you want that oven at the right temperature!
Bake your bread on the middle rack in your oven (leaving plenty of room above it and between loaves!) for 30 minutes or until golden brown.
Remove from the oven when finished and immediately (carefully!) remove from bread pans, and place on cooling racks (Photo 20)!

At this point, you'll be inhaling that wonderful fresh whole wheat baked bread aroma, and feeling super satisfied at your beautiful and amazing accomplishment! No fine bakery could do better!
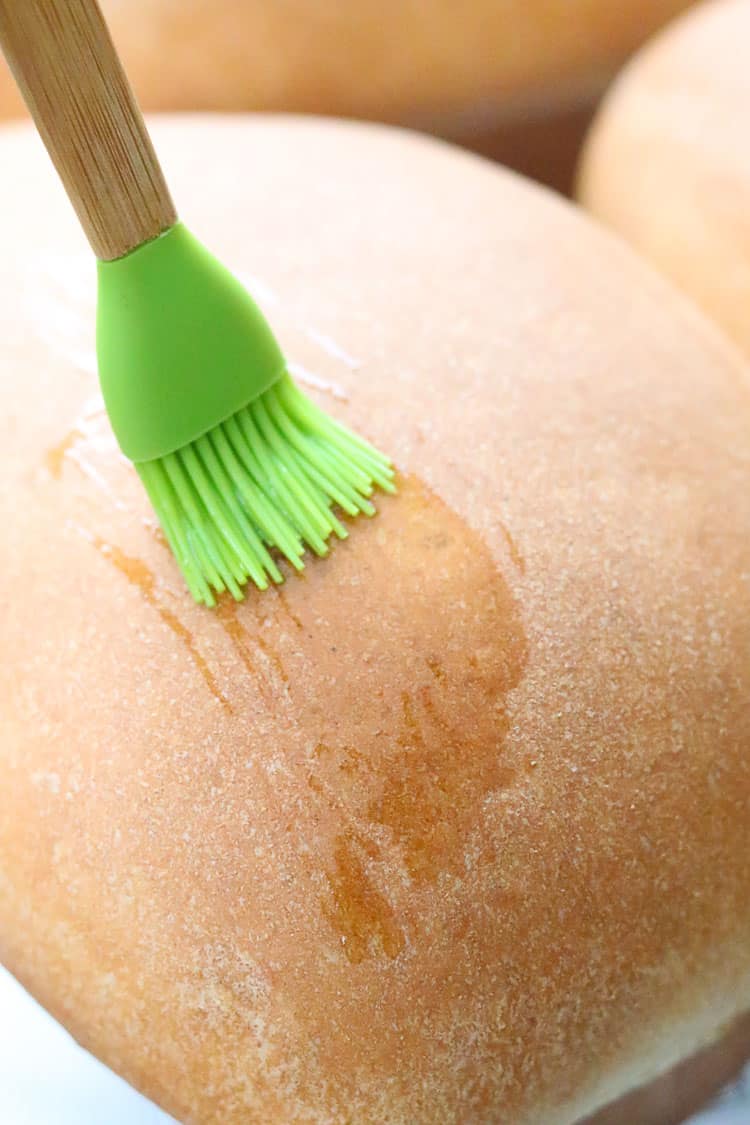
Try to resist cutting into the bread (it's best to wait at least an hour) and go ahead and brush olive oil on the top, or simply cover with a tea towel to prevent a crispy crust.
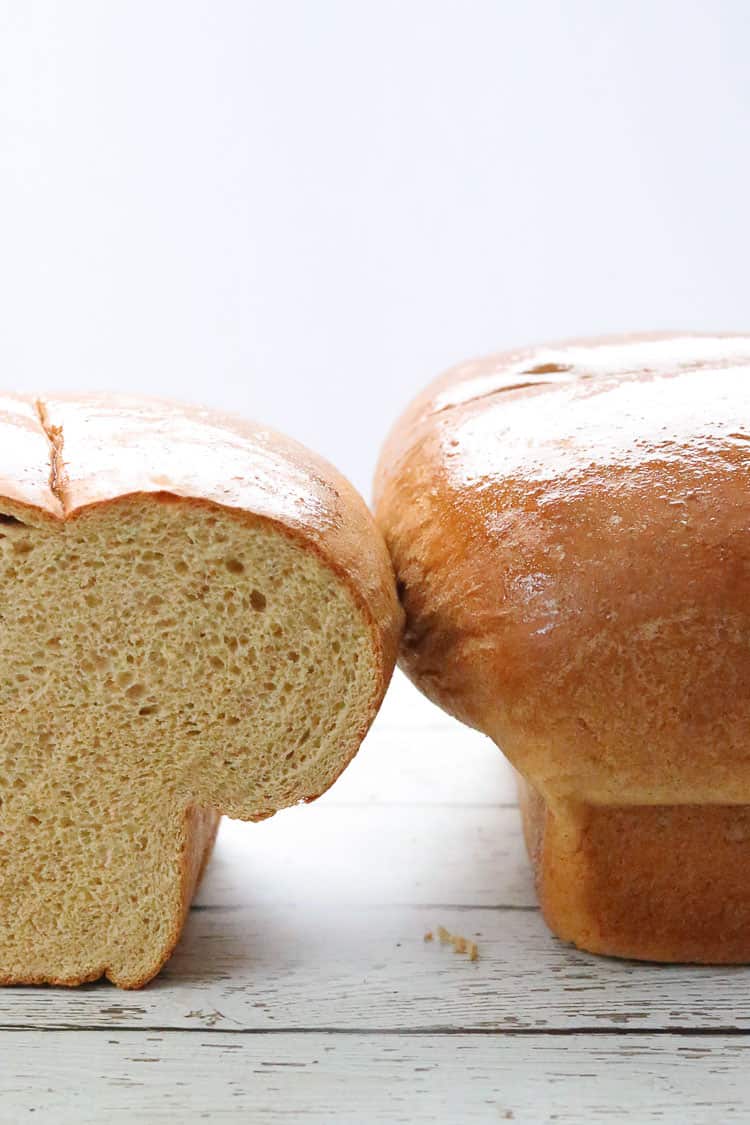
Yup, it's gorgeous and oh so delicious!
More ingredient notes:
- Agave Nectar - I use this to keep the recipe Vegan. If you're not vegan, feel free to replace the agave nectar with Honey.
- Active Dry Yeast - I don't recommend instant yeast for this recipe.
- Vegetable Oil - or any neutral oil is acceptable.
- Warm water - tepid water is best. You don't want hot water, or it will kill your yeast. If you have a thermometer, at or below 110 degrees is standard.
- Sea salt - my go-to salt.

Do I need special kitchen tools to make this Whole Wheat Bread Recipe?
I use my favorite Bosch mixer to make this bread, but you can certainly use any mixer with a dough hook, such as a Kitchen Aid. If you don't own a mixer, feel free to knead the dough by hand. You'll probably want to actively knead it for at least 15-20 minutes.
What size bread pans should I use?
The bread pans I use are standard 4X8. This recipe makes large loaves of bread, so if your pans are the slightly larger 5X9 that will be fine. Or, if you'd like smaller loaves, just divide the dough into four equal portions instead of three!
How long will this homemade Whole Wheat Bread last?
Store this bread in a plastic bag (after completely cooled!) at room temperature for 2-3 days or in the refrigerator for up to a week. Slice and freeze your bread in a sealed plastic bag for up to 3 months!
I hope you've enjoyed this guide to making the best 100% Whole Wheat Bread ever! Happy Baking my friends!
IF YOU LIKE THIS POST YOU MIGHT ALSO BE INTERESTED IN:
- Ultimate Vegan Chocolate Chip Banana Bread
- Easy Buttermilk Vegan Biscuits
- Cocoa-Banana Chia Seed Pudding
- Banana-Orange French Toast
If you’ve tried this 100% Whole Wheat Bread recipe or any other recipe on the blog then don’t forget to rate the recipe and let me know how you got on in the comments below, I LOVE hearing from you! You can also FOLLOW ME on FACEBOOK, INSTAGRAM and PINTEREST to see more delicious food!!!
DID YOU MAKE THIS RECIPE?? PLEASE CLICK ON THE STARS TO GIVE IT A RATING BELOW!!
Recipe
Best Easy 100% Whole Wheat Bread Recipe
Ingredients
- 4 cups water, warm
- ½ cup vegetable oil
- ½ cup agave nectar, or honey if preferred
- ¼ cup active dry yeast
- 8 cups White Whole Wheat Flour
- 1 cup vital wheat gluten flour
- 1 tablespoon Sea Salt
Instructions
- Start by adding slightly warm water (not above 110 degrees!) to your mixer bowl Then add the oil and agave (or honey if you prefer) to the bowl, followed by the yeast.Pulse the machine to mix slightly. The yeast should begin to react immediately and appear bubbly.Add four cups of flour covering the water, then add the salt, and gluten flour. Turn your mixer on to low speed (or Bosch level 1).
- Now add 4 more cups of flour while mixer is working on low. Add another half cup of flour as the final touch, and check to make sure that the dough is cleaning the sides of the bowl. (You can add up to another half cup of flour if the dough appears to be sticking, but you shouldn’t need it.) Turn the mixing speed up to medium (Bosch level 2) and mix and set a timer for 10 minutes.At the end of ten minutes, your dough will be smooth and elastic. Turn dough onto a clean and oiled or pan sprayed surface. Divide dough into three equal portions.
- Take one of the three dough portions and press roughly into a 8 inch square. Fold the top down, bottom up, and sides in, pressing into the center each time (watch the video!)
- Flip the dough over, seam side down, and shape into loaf by placing hands on sides of dough and pressing together.Place dough into oiled or pan sprayed baking pan, and press down firmly with your hand. (The dough is elastic and will spring back, so don’t worry about filling the pan – or about having your handprint on the top – it won’t last!)
- Cover your bread with a light clean tea towel (to keep a crust from forming and preventing proper rising) and place your pans in a warm place to rise for about 20-25 minutes or until doubled in size
- Preheat your oven to 350 degrees. Bake your bread on the middle rack in your oven (leaving plenty of room above it and between loaves!) for 30 minutes or until golden brown.Remove from the oven when finished and immediately (carefully!) remove from bread pans, and place on cooling racks!
- Wait at least an hour before slicing bread and go ahead and brush olive oil on the top, or simply cover with a tea towel to prevent a crispy crust.
Recipe video
Notes
Nutrition


Dean
Hi Rebecca, is there any other oil besides vegetable that I can use I this receptive?
Rebecca
Any liquid at room temperature oil would work fine. Canola oil works great. A light olive oil would be fine too.
Connie
Just took your bread out of the oven. You were right it is HUGE. I had same size pans you used but think I'd better try four next time. Looking forward to my husband trying it. Wish I could but am gluten intolerant for now, It smells wonderful.
Rebecca
You're so sweet to bake for your husband even though you can't eat it! Sure wish you could! Yes, four should be a bit smaller.. 😉
Rebecca
Thx Alicia! I haven't tried a bulk rise with this bread. Let me know how it goes if you do! I'm guessing you would need a lot less yeast, and possibly less gluten flour??
Alicia Harding
This bread looks so beautiful!! Question, have you tried doing a bulk rise before the final rise and is there any difference?